

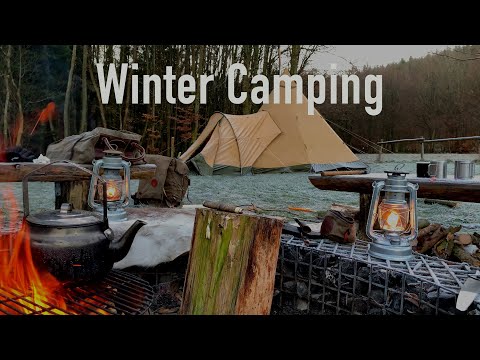
Tipi winter camping: HOT TENT, TENTIPI SAFIR 9, APSIS PITCHING
A video about our week-long trip over New Year's Eve 2019/2020. We had an amazing time. Temperatures were below zero, but sadly we had no snow...
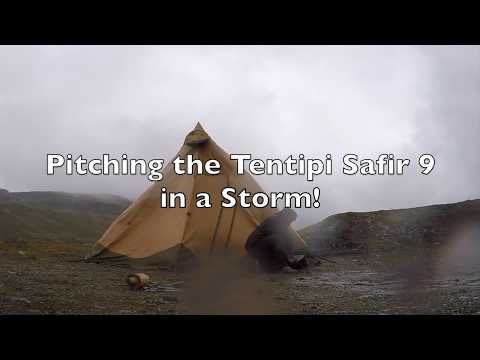
How to pitch a Tentipi tipi so it stands even in a storm: with the mounting cross, measuring tape, eight pegs in a circle and a centre pole. The steps follow Tentipi's official pitching instructions for Safir and Zirkon, plus our tips from many years in the tipi.
According to the instructions: canvas, packing bag, centre pole, measuring tape and mounting cross, plus the pegs. For CP tents these are sturdy steel pegs (TT Steel stake Pro), for Light tents long Y-pegs, plus hook pegs for the snow skirt and short Y-pegs for guy lines and air intakes.
Find a spot that's as level as possible and clear away anything that could damage the canvas or floor: stones, branches, pine cones. Decide beforehand where the door should face. Ideally it faces away from the wind.
Pin the mounting cross with a peg where the centre of the tipi will be. The door marking on the cross points in the direction the door should face.
Pull out the measuring tape from the mounting cross and set a peg at the marking. For Light tents, use a long Y-peg. This gives you an exact circle, and the tipi will later stand evenly tensioned.
With the mounting cross and measuring tape you set eight pegs in a circle; size 15 needs sixteen, the small Olivin six. Our tip for the order: first the peg at the door, then the one opposite, then the two across and finally the four diagonals. That keeps the circle symmetrical.
For the Olivin, Tentipi recommends pushing the pegs into the ground at an angle, leaning away from the tent. That way they hold more load, and the same applies to the big tipis.
Spread out the canvas and pull the ground rings over the pegs. Then push or hammer the pegs all the way into the ground. Important according to Tentipi: don't hammer Y-pegs; with the Olivin, push all pegs in by hand or foot.
Assemble the centre pole, find the cap at the top of the tipi and insert the pole. Then raise the tipi by pushing the pole upwards and set it down exactly in the centre.
Close the door and tension the ground straps all round. Keep adjusting until the tipi stands evenly and tautly. A smooth, tensioned canvas is the most important thing against wind, rain and snow.
Fasten the snow skirt at the bottom edge with hook pegs, either outwards or inwards. With a floor, Tentipi says it must go inwards. If needed, peg the air intakes outwards with a short Y-peg.
The guy lines come pre-fitted in their holders and, according to Tentipi, aren't needed in most weather. In extreme weather, peg them out with short Y-pegs as far from the tent as possible, where they work best. According to Tentipi there are eight lines on size 5 and sixteen on sizes 7, 9 and 15.
According to Tentipi, it's easiest to pitch the tipi on top of the snow. Stamp the spot down with skis, snowshoes or your feet. Thicker branches act as pegs: use the ring to make a loop in the ground strap, thread the branch through, shovel snow over it and stamp it down. Let everything freeze for a while before raising the centre pole and tensioning the ground straps. There are also special snow and sand pegs.
Important: If snowfall is likely, peg out the guy lines and keep clearing snow off the canvas. According to Tentipi, just a few centimetres of wet snow can mean a load of a few hundred kilos. Breakage due to snow load is not covered by the warranty.
Before striking, close the ventilation cap and air intakes. According to Tentipi, you can leave the inner tent or floor attached. The tent should be empty. Then release all ground straps, remove the centre pole, close the door and pull out the pegs.
Lay the canvas on the ground like a fan, folded once, and push a peg through the loop at the top. That way it can't slip away while you fold it.
There are eight fibreglass rods around the smoke opening. Arrange them in two rows of four facing each other and fold the rows together. The ventilation cap may only be folded once, otherwise the rods can punch holes in their sleeves.
Use a seam as an edge, smooth the canvas out and fold it several times without bending the fibreglass rods more than once. The folded centre pole in its bag gives you the right width: place it on the rods, roll the canvas tightly around it, close the strap and put everything in the packing bag.
For drying or storage you can hang the whole tipi by the loop at the top. According to Tentipi, tipi, inner tent and floor must always be properly dry before being packed away for longer, otherwise mildew can form and damage the fabric.
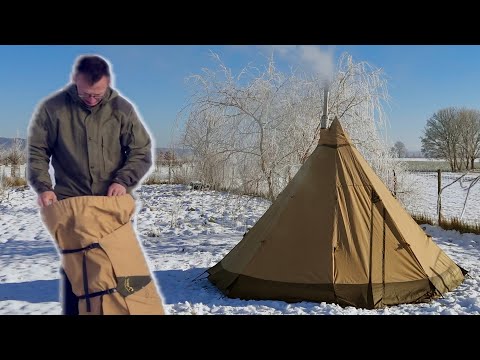
In winter with a wood stove, with half an inner tent and in a storm:
Our videos are in German. On YouTube, most of them are automatically dubbed into English, and some reviews have an English voice-over.

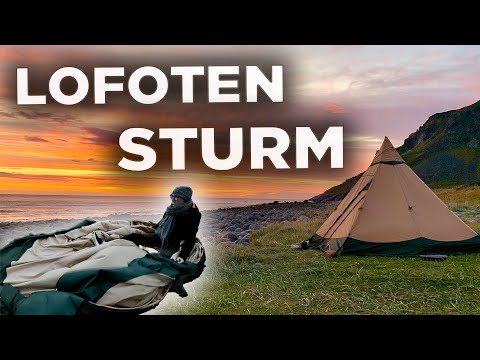
A video about our week-long trip over New Year's Eve 2019/2020. We had an amazing time. Temperatures were below zero, but sadly we had no snow...
Kurzvideos:
Sources: official Tentipi instructions “Safir & Zirkon”, “Olivin”, “Wind”, “Snow” and “Drying and storage” (tentipi.com, retrieved 14.11.2026) and our own experience. The illustrations are simplified.
Next: Tentipi FAQ · all Tentipi videos